
"No man is more unhappy than he who never faces adversity. For he is not permitted to prove himself." - Lucius Annaeus Seneca
We will be facing adversity pretty soon. Most people seem able to deal with their personal troubles quietly, although there are always loud complainers. I have a raft of personal troubles, but the public sphere isn't what I would consider a legitimate venue for airing them. Irritating stuff, yes. Big-time private issues, no.
I finally had an opportunity to spend time in the shop yesterday. I cranked the heater up to something reasonable - 60F - and did my best to *finally* install the door for the air compressor room. It became a total shit-show of course, like most of my projects ;).
Still using the old portable Harbor Freight air compressor, because the Husky isn't quite ready for prime-time. There are no fittings on the big one yet.

Before starting, I watched the video below:
Looks pretty easy right? While I was in the middle of my own installation, I suddenly recalled how many video edits this jackass had made. How long did it really take him to do this, and how many times did he do it over??? I have no idea. Hinge side plumb. Check! Screw that guy, LOL.

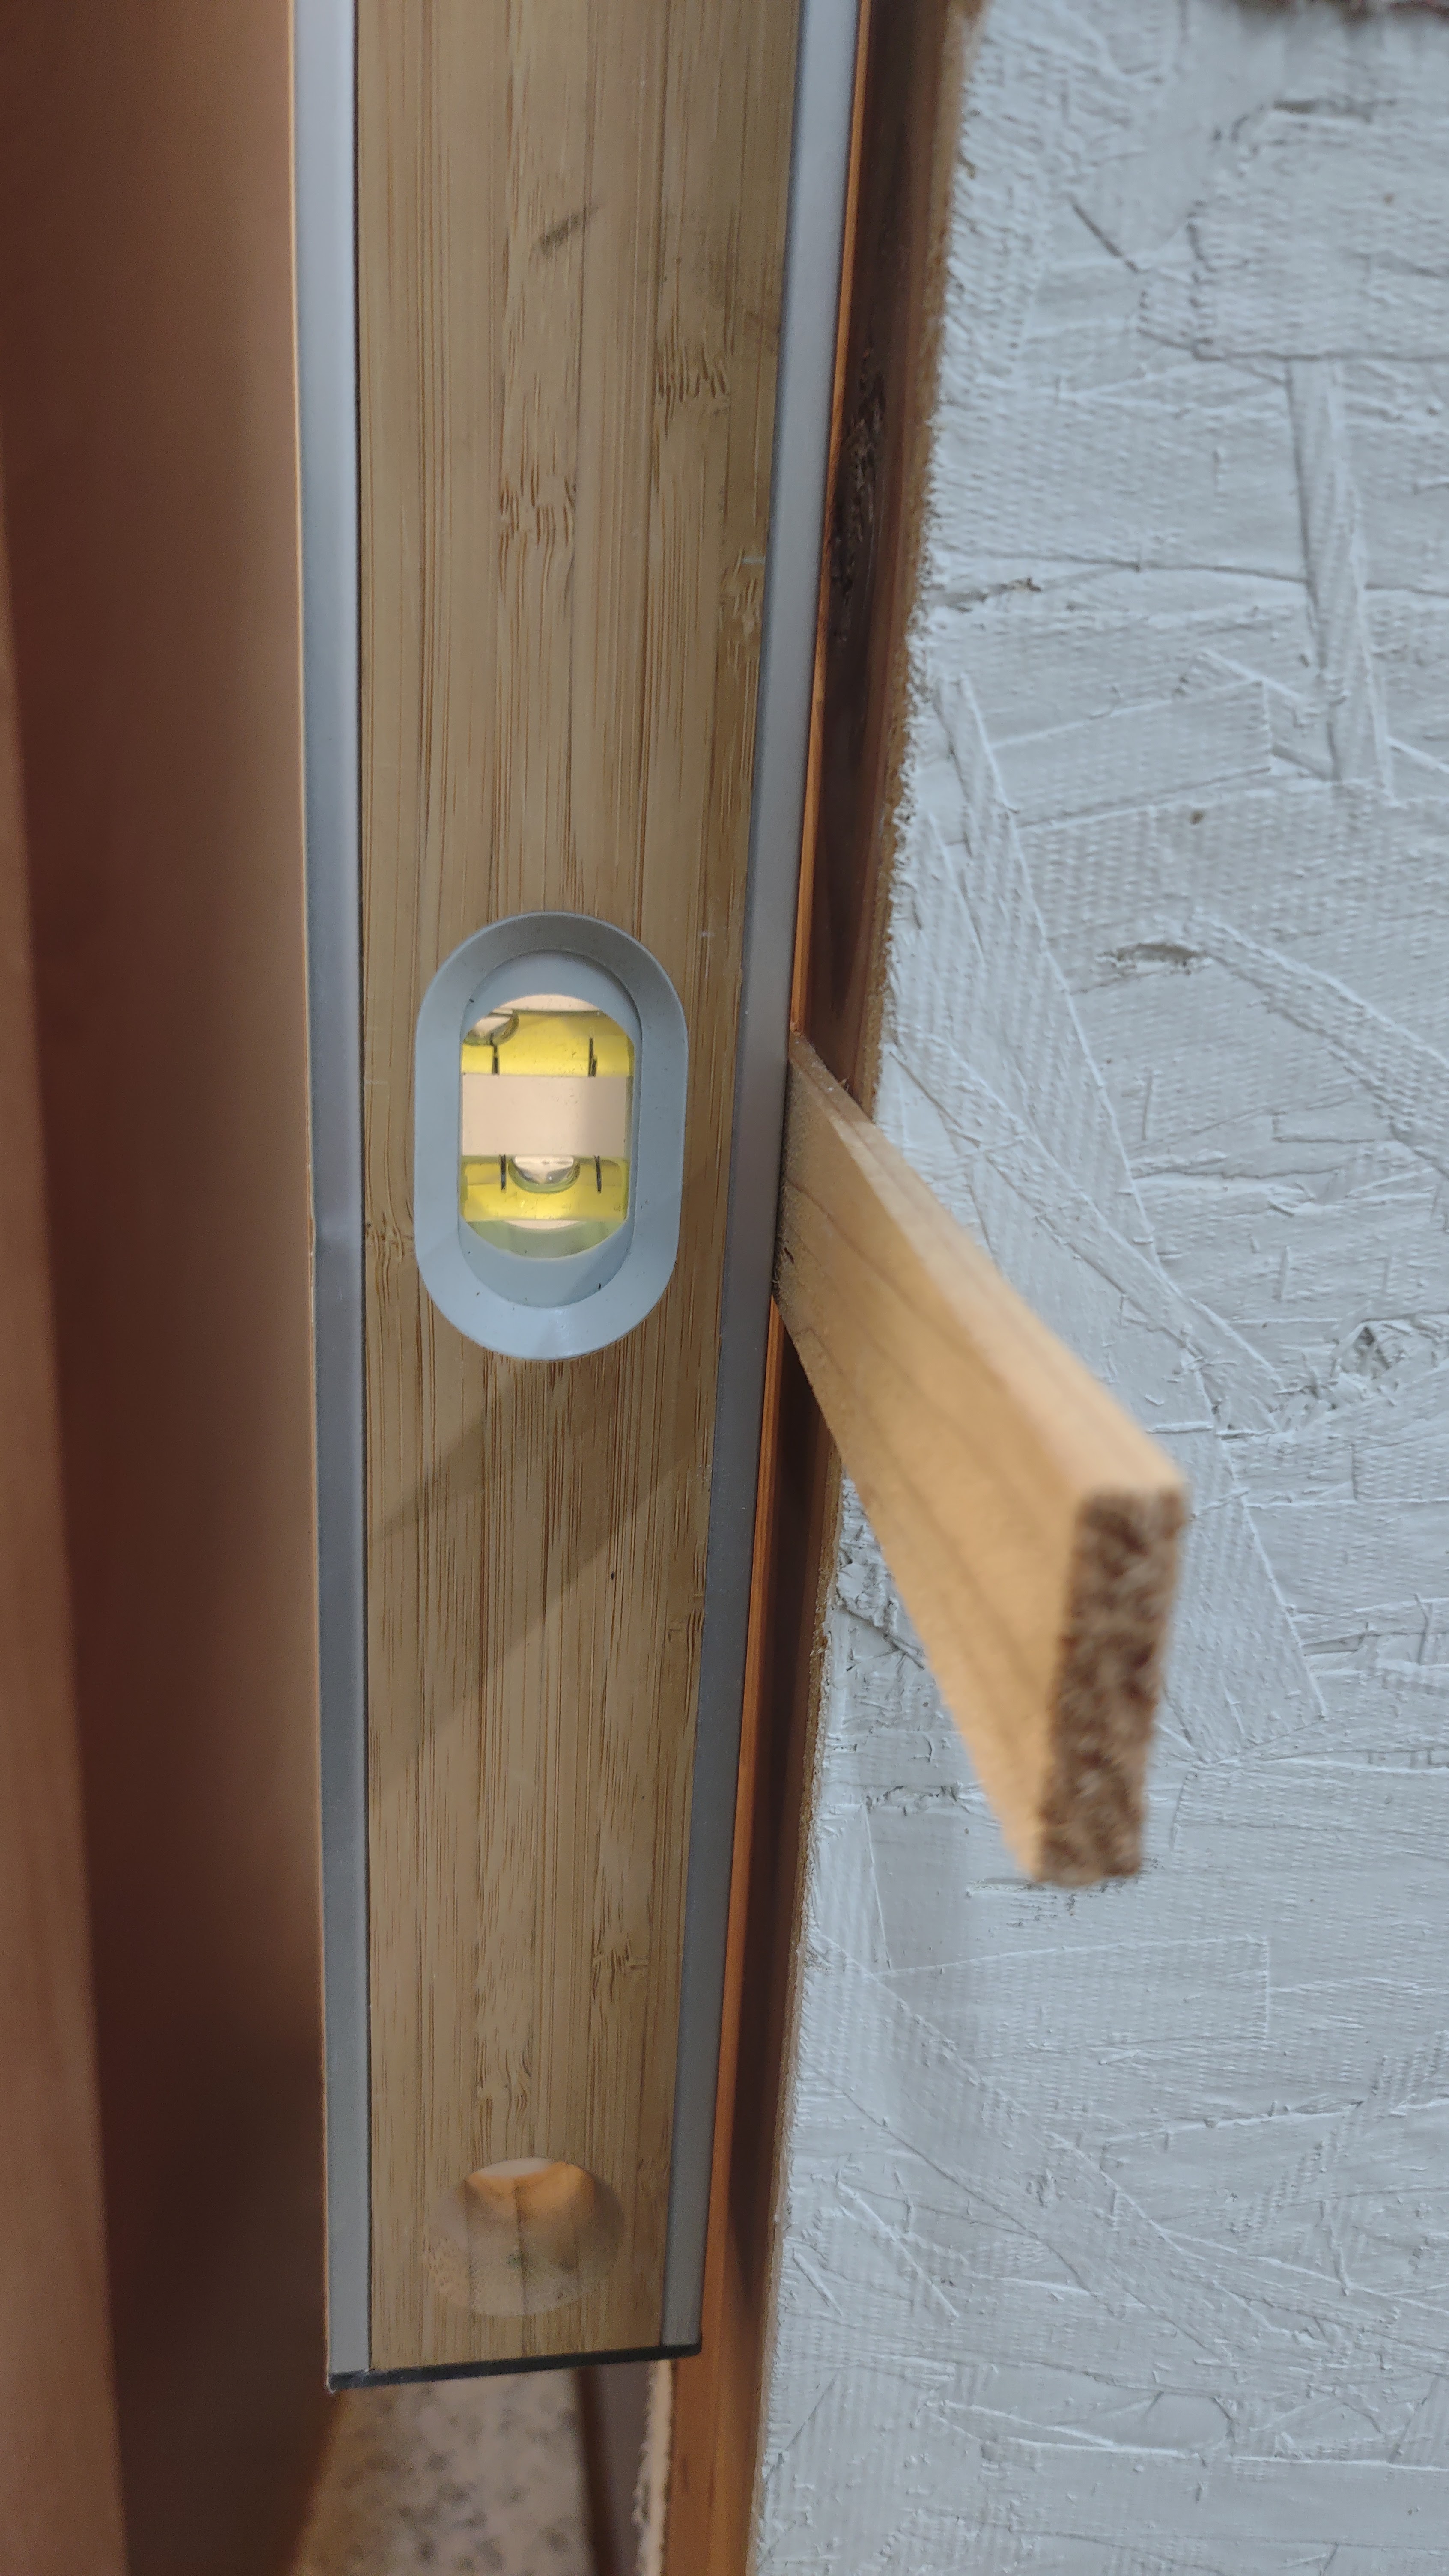
I did everything he said to do, and I still had to spend a lot of time sanding down door edges to eliminate rubs. It wasn't going to be OK - right from the very beginning.

I drink a lot of sugar-free Monster energy drink. I make no secret of this - it keeps my energy level about 10 years younger than it would otherwise be. The down-side is that I have to pee frequently.
I was just beginning to install the door latch mechanism, and had installed the striker plate on the frame. After the earlier trouble I'd had aligning the door with the frame, I decided to check to verify that the door latch would align with the striker plate before installing the door knob.

I closed the door from the inside. Amazingly, the door and frame were aligned, and the mechanism latched perfectly. At that moment, I realized that it was going to take some time to get out of the room. It wasn't obvious how to release the latch mechanism without a doorknob. As I squatted down to figure out how to release the latch, I had a sudden and dire urge to piss. I was trapped. With nowhere to go.
The situation wasn't all that desperate, but it was a very uncomfortable couple of minutes, while I figured out how to release the latch. The first thing I did after finally getting the door open was to pee, and the second thing was to install the damn door knobs.


At that point I was disgusted and covered in sawdust from sanding the door edges. I decided to goof off on World of Warcraft for a little while, and to play with the pooch. Yes the yard will get green, whenever the weather decides to warm up. The weeds are already looking great!

Later on, when I was done being miffed, I went back out to the shop to finish the door trim. That's when I realized that I'd never stained the trim. I'd just bought it and set it aside, and begun applying polyurethane to the door itself. So I had to break out the saw horses again to stain the trim.


After powering up the compressor, I test ran it with the door shut. It's still pretty loud, and rattles the shop a fair bit. I'm glad it has its own room.
Previous episodes of this project:
Also the final completion - minus the door framing.
4 comments:
Any concerns about that room getting too hot, and the need for some sort of exhaust fan? By the looks of the finished install, it looks great. Of course I'm no carpenter and can't hammer a nail straight to save my life(gotta love the cordless power tools). How did the thought process go when deciding the door should open into the room versus out?
Heya Marc,
I hadn't given much thought to the heat situation in the room, to be honest. Hopefully it doesn't bake, or I might have to install a fart fan with a thermostat to control it.
As for the door orientation, there was only one way it would work where it would open up against a 90 degree wall where a door-stop spring could go. So it had to open inward on the right.
When I'm on holiday in Europe they use quite a few sliding doors or pocket doors. They really are a great design especially for bathrooms. We don't use them much in the UK , do you in the US?
Hi Johnny,
Yes pocket doors are used here - very sparingly. Only one house that I've lived in had one. If I were to guess why that is, it's because a hinge door is cheaper and quicker to install. Housing construction is a very assembly-line sort of affair over here.
I did a quick check on pricing, and just the frame for a pocket door cost a bit more than my entire hinge door assembly. Then I would have to purchase a door to hang from the frame, so roughly 2x the cost.
It probably would not work out in this particular installation due to some furnace and light switch wiring in the wall that the pocket door frame would need to be housed in. Pocket doors are great if you are in the process of building the house and the interior walls aren't already installed.
Thanks for visiting and commenting!
Post a Comment