
I had a Midwest kit on hand for Amarillo Pale Ale, which uses Amarillo Hops for aroma and flavor, and another type of skunky hop called Columbus, for bittering. I love the taste and smell of Amarillo hops. If I could find a cheap source, I would put them in every batch I make. Heck, I would put it in ice cream.

I haven't mentioned before what ingredients come in these kits. The primary ingredient is malt extract. This is either a dry powder or a concentrated syrup containing sugars and enzymes from malted barley and/or wheat.
The Midwest kits always seem to include some "specialty grains", which are usually roasted malts. These are used to adjust the flavor of the beer.
Hops are also included. These hops will be used for bittering, flavor, and aroma.
The kits also include a small bag for steeping the specialty grains, priming sugar to carbonate your bottled beer, and yeast to ferment the mixture (convert the sugars into alcohol).
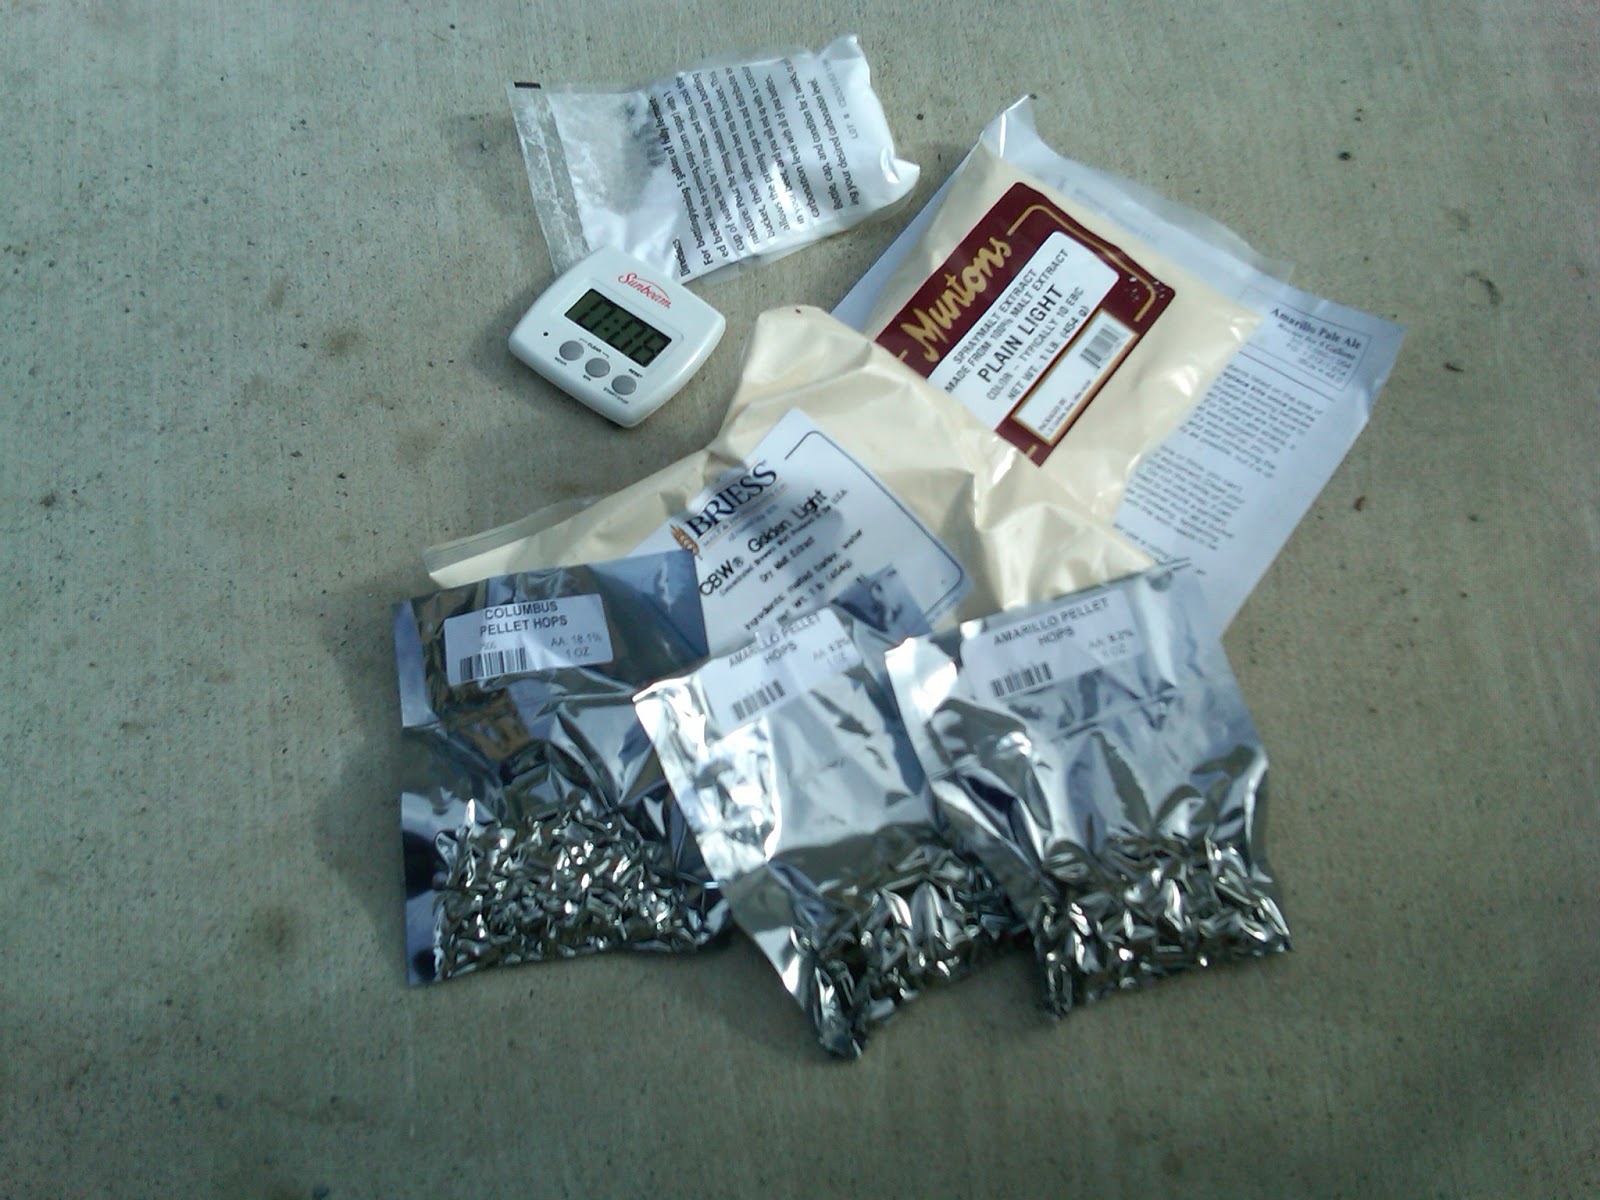
Here are a few of the ingredients for this particular kit that I had near the boil pot: Priming sugar at the top of the photo, a digital timer (mine), two 1lb bags of dry malt extract, and 3 small bags of pellet hops.
The steps to brew are pretty straightforward:
Take your yeast out of the refrigerator and allow it to begin warming to room temperature. Shake it up a bit to ensure the yeast are all exposed to the nutrients.

Next, to make 5 gallons of beer, start out with 6 gallons of water. You will be boiling the mixture for an hour, and one gallon will steam off during that hour.
I like to get my water from the hot water tap in the house because it's already at 130 degrees. This saves both time and propane. I have a deep sink to fill my pot, but would use a pitcher at the kitchen sink if that weren't available. Try to use good-tasting water if you want good-tasting beer.
Here is a picture of my brewing rig:
- Chair to chill out and have a cold one while making more cold ones.
- Turkey cooker burner and lighter
- Brew-pot
- Long-handled stirring spoon and thermometer inside the brew-pot
- Propane tank
- Immersion wort chiller
- Brew kit and some ingredients between the chair and burner


Bring the 6 gallons up to 155 degrees and hold the temperature there. You put the specialty grains in the muslin bag and allow the grains to steep in the water for 15-30 minutes. Pull the bag containing the grains out, and squeeze the juice out of it. Playtex gloves are nice for this step, because 155 degrees is unpleasantly hot on bare fingers. Trust me on this!
Here we are in the process of steeping the specialty grains. I am using a paper binder to keep the steeping bag from falling all the way in.

After the specialty grains are out (I feed them to the deer afterwards), you turn off the burner. TURN OFF THE BURNER! Here's why: Liquid malt extract has the consistency of rubber cement. It doesn't want to pour. Because of this, it tends to drop to the bottom of the pot and stick there. If the fire were on, you would scorch the extract at the bottom of the pot and ruin your beer before you even got it made. So shut off the heat and give the hot water plenty of time to dissolve this gooey stuff. Stir it with a long spoon until you are sure it's dissolved. Then stir some more.
Here's what to do with the Liquid Malt Extract to improve the dissolving process. I put it in a water bath and pre-warm it on the stove while steeping the specialty grains. This helps thin the stuff from rubber cement to more of a syrup consistency.

This should give you an example of the consistency of liquid extract at room temperature:

I prefer the dry malt extract for a couple of reasons. First, since it's not watered down, pound for pound, your beer will be stronger. And second, unlike the liquid extract, it floats. It doesn't sink to the bottom and try to burn itself up on the bottom of your pot.
Now that we have dissolved the malt extract in hot water, we have the basis for beer! When you dissolve malt extract in water, you have made the Wort (pronounced "Wert"). But we aren't done yet. You could perhaps make beer from this, but it would be sweeter than pepsi. Worse, it might become a bacterial science experiment. So let's boil the wort, shall we?
Light your burner and bring the wort slowly up to a boil. Slowly, because you can also scorch the sugary wort on the bottom of your boiling pot. Slowly for another reason too. Our wort is full of sugars, starches, and proteins, so the bubbles like to foam up and over. A boilover of this stuff is messy! You have to watch it like a hawk and be ready to cut the gas off. Shortly before it begins to boil is when the "protein break" happens and a boilover is likely. Afterwards the danger is over. Just get it back to a rolling boil.
Once it comes to a boil, we set a 60 minute timer, and add bittering hops. The hops you add will be either pellets or leaves. This kit comes with pellets. You can drop them loose in the wort, but I prefer to put them in the steeping bag. I clean out the steeping bag of the specialty grains and re-use it for the hops. You don't want all that plant material in your fermenter. It will make your beer have a grassy taste.
We now have our wort boiling and killing any germs in the mixture. The boiling is also releasing oils from the hops, which over an hour will bitter the beer, countering the sickeningly sweet mixture with some bitterness. At about 15 minutes before flame-out, I place the wort chiller in the boiling wort to sterilize it.
Depending on the beer, most recipes will call for other hop additions. These can occur anywhere in the boil, but mid-boil hops are for flavor/bittering, and toward the end are more for the "nose" or aroma of the beer, and not for bittering.
Assuming all the hop additions were done properly (at the correct time and correct amount), we are ready to shut off the fire and cool our wort down and let the yeast begin working their magic!
I use an immersion wort chiller to quickly bring the wort down to a temperature where yeast cells can survive. You can do it with an ice bath, but it takes longer and increases the chance of an infection. After about 5 minutes of chilling with the wort chiller, the wort is down below 80 degrees, at which point the yeast cells can survive.
Hopefully by this time your dormant yeast will have warmed up, your sterile wort will have cooled down, so the yeast won't have to deal with a big temperature shock.
There is one thing you need to do before adding the yeast, however. When you boil water, you de-aerate it, driving off all the oxygen. Yeast need oxygen to get started, so you need to aerate the wort. Some folks slosh the wort around vigorously, while others pour it back and forth between containers. I'm lazy and worried about infection, so I use an air compressor and a sanitized tube to blow bubbles from the bottom of the wort for about 30 seconds.
Next we pour the wort into a sanitized fermenter. The fermenter is a sealed container that keeps the wort and yeast in, releases gas the yeast generate, and keeps the germs out.
Then we pitch the yeast. That's what it's called: "Pitching the yeast". It means we are adding yeast to our wort. Then we place an airlock on top of the container, filled with sanitizing solution. The airlock will allow the container to breathe, while killing any germs that might try to get to our beer.

Here is a picture of fermentation at the beginning of the process. This is two days after brew day when the yeast was pitched. The layer of goop on top of the wort is called krausen.

If the yeast is very vigorous, or you don't have enough head space in your fermenter, this stuff can expand, plug your airlock, and blow out of the fermenter. That HAS to be nasty to clean up, as well as potentially infecting your beer with bacteria. Here is a picture I found on the internet of such an event. I know the wife would be most unhappy about a mess like this!

Back to less eventful brewing... I used a hot pad to warm the wort and help get the yeast active. The note on the fermenter is to remind me when I brewed and what kind of beer is fermenting. I have 3 different batches going right now, and don't want any confusion.

I don't actually bottle my beer, once again because I am lazy, and don't feel like washing and sanitizing 55 botttles every time I brew a batch. Instead I wash and sanitize ONE cornelius keg (AKA corny keg).
Another advantage of keg storage is that you don't have to boil and then add priming sugar to your beer prior to bottling. Priming sugar is used to give the yeast something new to eat and allow them to make CO2 gas, to carbonate beer in the botttle. With a keg, you carbonate your beer with a gas cylinder and regulator. I don't waste the priming sugar however. I add it to the wort to make the beer stronger! For a detailed post on how to transfer and store your brew in a cornelius keg, click here.

And here is what all that trouble is for: Something the big breweries will never make - beer with flavor, character, and potency!


