
"To love another person is to see them as God intended them to be." Fyodor Dostoevsky
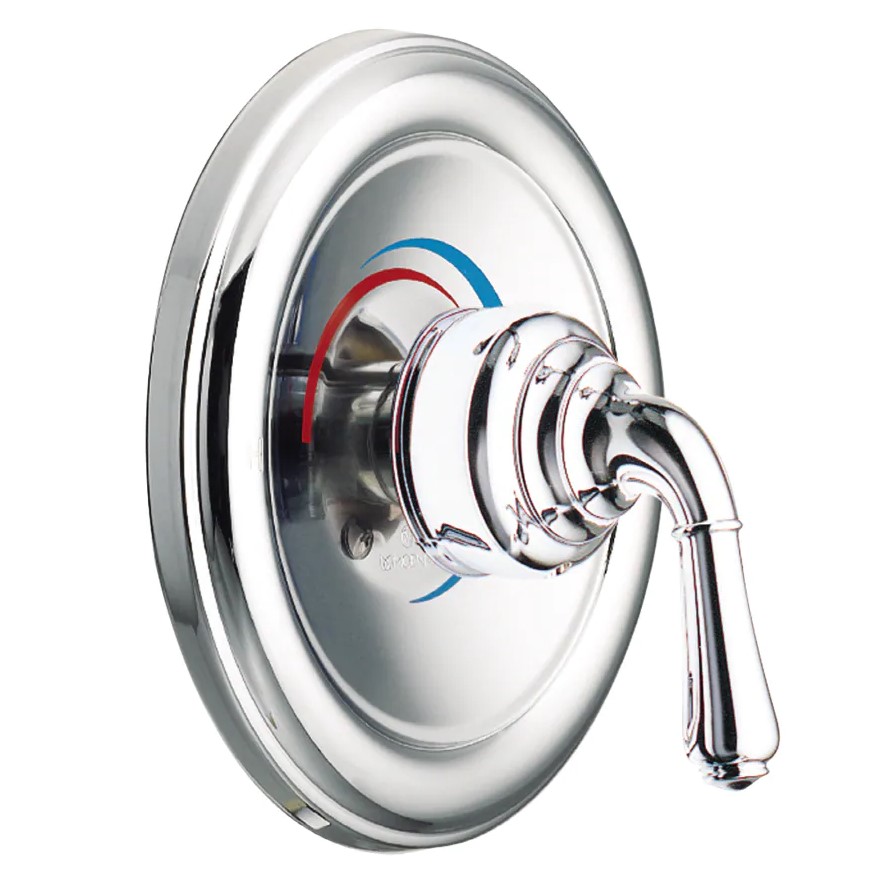
A week or so ago, I noticed that while showering, the water was quite a bit hotter than normal. So hot, that I had to turn the mixing valve quite a bit colder than its normal position. It's normally a bit off to the hot side, but on that day, to keep the temperature comfortable, I had to blend more cold water in, so it was about mid-position, like you see here.
The following day when I ran water to warm the shower up before getting in, it never got warm. The water heater had quit working and gone cold. I found the over-temperature switch had tripped. That made sense, because of how hot the water had been previously. A thermostat must have stuck on, and the high water temperature had caused the over-temperature switch to de-energize the heating elements.
The house is currently equipped with an old school tank-type immersion element water heater with a 50 gallon (190 liter) capacity. I briefly considered installing a brand new hybrid water heater with an 80 gallon (300 liter) capacity - until I looked at the price of those units.
The big box DIY home repair stores want $2400 for an 80 gallon unit, and $1600 for a 50 gallon unit. This pricing excludes any additional expenses for pipes, valves, electrical, and whatnot. If I were replacing the water heater, I'd install it myself to save the additional cost of installation.

I'm not replacing it at this time. For that kind of money, I can do a lot of repairs and heat a lot of water with the old heater, so I decided to attempt to repair the heater we already own. I'm no longer an electrician, and I never was a plumber - just a home gamer. This is not a how-to guide, just a "how I did it" description.
First off, a great video that explains in detail how an immersion water heater works. It's quite fascinating how these are designed with an upper and lower heating element, and how well they work together (one at a time) to prolong your hot water. It really is brilliant. Although I found the presenter's mannerisms a little off-putting, the information presented is excellent!
Anyway, I went to work on it. Step 1: Turn off power.


Check for voltage after getting it open. Then check a live circuit to ensure your meter works - preferably at the same voltage - then return and test for voltage again. This meter that I got for free with a coupon is very nearly garbage - at least with respect to measuring resistance. For voltage it's fine.

Below: Upper thermostat access sequence.


After you get the insulation out and the plastic electrical safety cover off, you finally get to the thermostat, and can test it for voltage. I tested everything metal, with the other probe grounded to the sheet metal screw hole. The heating element is the round thing at the bottom with two screws.

Warning: The thremostats are held in place up against the steel tank by cheap sheet metal spring clips. You need to gently pry the clips on each side without damaging them. If you permanently bend these, the thermostat won't fit tightly against the tank, and you will have to replace the entire thing - or figure out how to hold it tightly against the tank.
Below: Replacement upper thermostat. There are only a couple of types of these, so they are pretty universal. This one is quite similar to the old one - both have identical terminals and jumpers, and also the same temperature range.

New thermostat in place. The wires were so stiff that there was no danger of connecting them to the wrong terminals after replacing the device.

I checked the resistance of each immersion heating element, after lifting one lead off each. It's important to lift one lead, so that you don't inadvertently measure a parallel electrical circuit on the thermostat. The meter at this point was not very good. With the probes shorted together it should have shown zero ohms resistance, but it read between 3-12 ohms, erratically... But each element read 13 ohms when I subtracted the meter error, so I called them good. Could have gotten a better meter from the shop, but I was feeling too lazy for that.
Below: Lower thermostat, same sequence.


The thermostat swap seems to have been a success. No super-hot showers, nor cold showers followed by a heater reset - so far.
1 comment:
I have an old "Realistic"(Radio Shack) meter but have very little idea on how to use it. Tends to be a bit confusing to me. What I need is to know how to empty the water heater. We had ours replaced when redoing the kitchen. Prior owners of the house had but the date on the old one, thankfully, and it was time to put in a new one. That was about 4 or 5 years ago and the new one has never been drained. Glad your work fixed the water heater.
Post a Comment